

Host a static website on AWS S3 for free with CloudFront and using CI/CD Pipeline(Git)!


Table of contents
Today we are going to learn about, how to host a static website on cloud using AWS. Here are the steps:
Amazon S3:
First create an account on AWS. You can create AWS Free Tier on amazon, you can create Free tier account by going to google, search for AWS free tier account and follow the link.
You can create new account by following the link and after that it will ask you for your information; just follow the steps and you are ready to go. It will ask for your card information but its free, so you won’t be charged for anything if you use only AWS free Tier limit. Or if you already have one you can simple login to your account.
I already have one, so I am going to use my account.
After you logged in go to your AWS console and look for service S3. You can search for S3 in search bar or can find simply clicking on Services on the left top.

AWS console screen with recently visited services

Console Screen to create bucket
This screen will show up. Click on Create Bucket button.
- After clicking on Create Bucket Button you will see the screen like this. Just fill the bucket name and don’t change any permissions and click Create Bucket button at bootm of the screen.

Create S3 bucket
2. After that you will see all the created buckets here. Now click on recently created bucket to upload your website
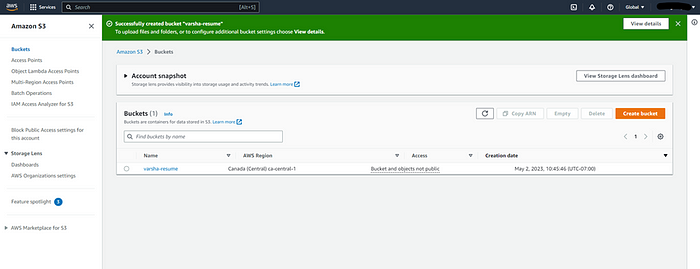
AWS S3 Buckets list
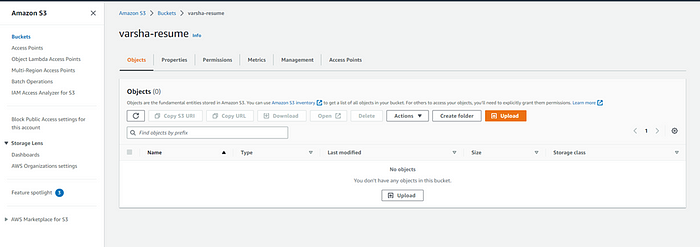
Selected bucket to upload files/folder
Here in selected bucket you can upload your folder or simple drag your folder here to upload all files. It will take some time to upload all your files, so wait.
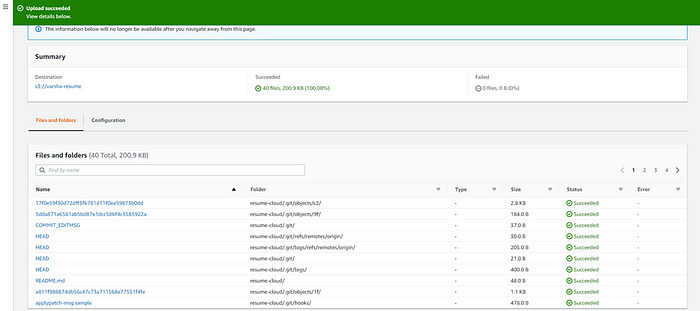
Files/Folder uploaded successfully
Now to see your website’s URL click on index.html page or the page you want to make index like this.

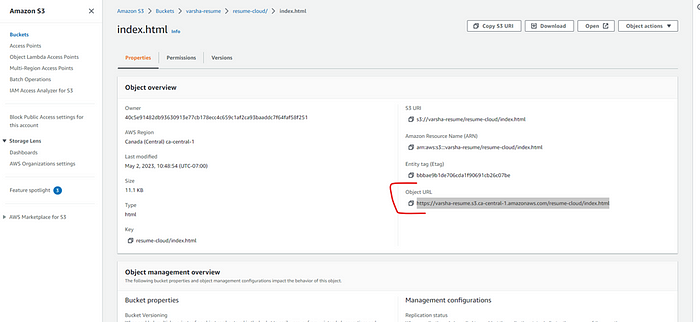
Copy link to view your website
Copy the Object URL and open in a browser.
You will see Access denied message when you try to open your website. So we need to update the properties

Access denied
Go back to your folder and click on Properties. Scroll down and look for Static website hosting

Bucket properties

Static website hosting section
Here in Static website hosting click Edit and Enable this

Static website hosting Enabled
In index document add your index page name like me as I have index.html and add error document as well if you created one, for me I only created index.html so my error document is empty and click Save.
After saving you will the link in Static website hosting section to see your website. Copy that link and open in browser.

Access forbidden
If you still seeing this forbidden like me than you just must enable few more permissions.
Go to you bucket and select Permissions and look for Block public access and click Edit.

S3 Bucket Permissions
Uncheck Block all public access and click Save changes. You will get a prompt to confirm save changes so enter confirm and save.
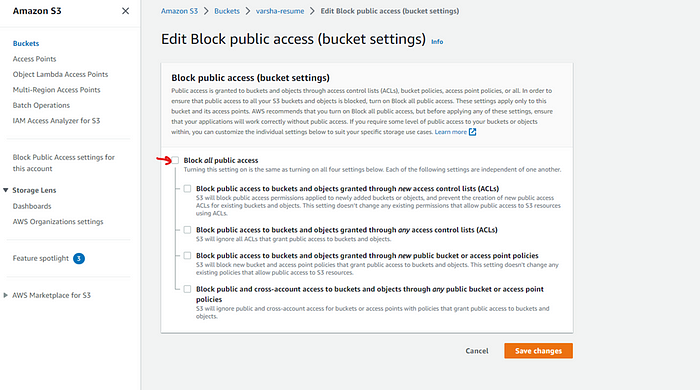
Enable Block permission access by unchecking

Confirm access
You have to add bucket policy. Your resource will be in bucket->properties-> Amazon Resource Name (ARN).

Now try to refresh your website whether its working or not. You will see that its still says Access denied.
Now go back to your bucket and select the folder and click on Actions and click Make public using ACL. If Make public using ACL options is disabled, then you must enable ACL. Go to your Bucket and in permissions find ACL and click Edit and enable ACL.

Access Control List Enabled
Now go back to your bucket and select the folder and click on Actions and click Make public using ACL.

Make folder public to access
Now your website should be accessible. To view your website, go to your bucket, click on your bucket, then click on your folder and click on index.html page and here you find the Object URL.
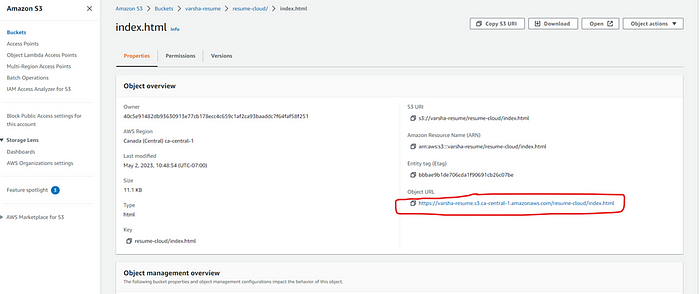
Website URL
Copy URL and open in browser and your website should work now like mine.

My Static Website
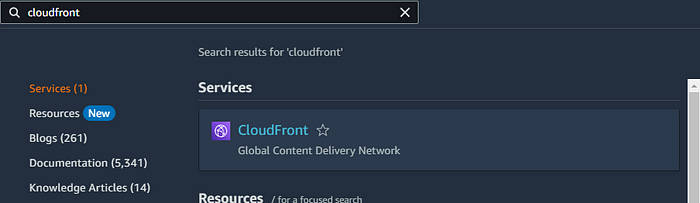
Amazon CloudFront:
- Search for service cloudfront
2. Click create distribution

3. Choose domain

4. Disable cache as if you will not do it then it may take long time to update changes on your website.
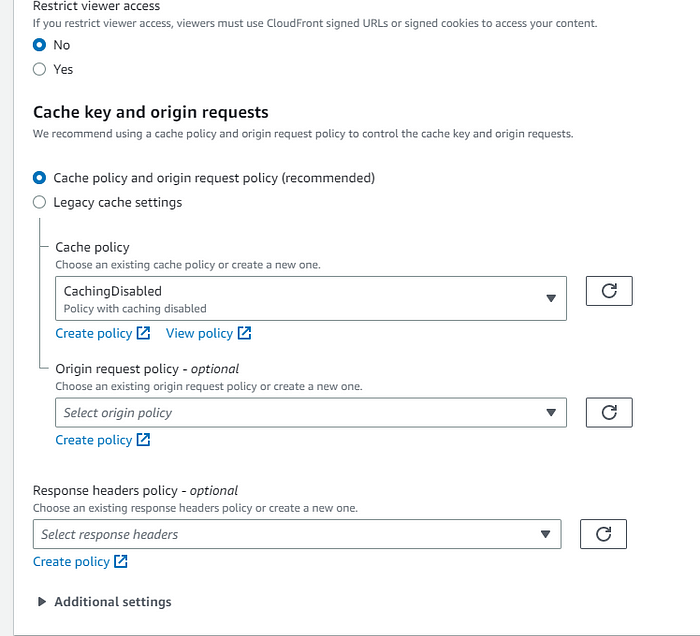
5. On Standard logging and create distribution

6. After creating distribution you can see Distribution domain name, copy and view it in the browser. This should show your website.
Create AWS CI/CD Pipeline:
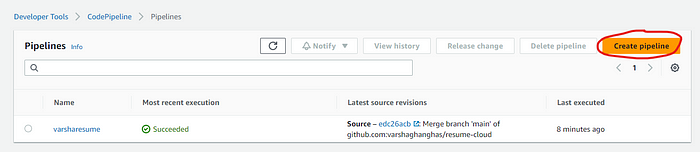
- Click create pipeline, name your pipeline and click on Next.

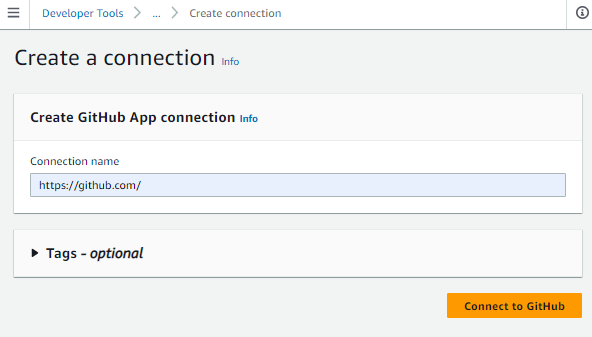
2. In source section select Source Provider and follow steps. I have my folder on my git repo so I will connect my github.

When you are connecting GitHub for the first time you have to click on Connect to GitHub and then add connection name and click Install a new app, this will ask to authorize your GitHub profile and after you logged in you are ready to use it.

3. Skip build Stage and click next
4. Select Amazon s3 as deploy provider. Select your bucket name and click next.

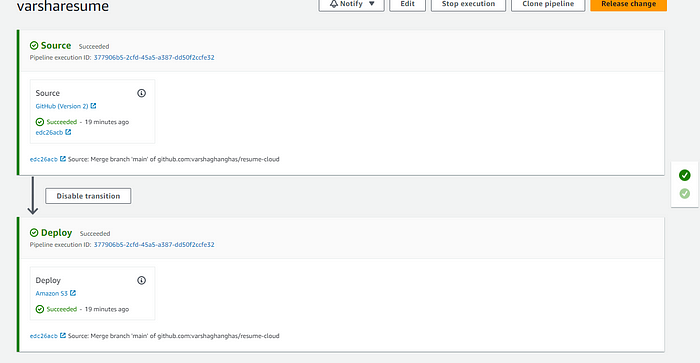
5. Review everything and click Create Pipeline.
Now your pipeline is ready.
Thanks so much for reading!
#10weeksofcloudops
References: